Do you have moisture issues with your iPhone camera? Then you’re in luck! This post will describe a few methods for removing moisture from an iPhone camera.
In this article, we will talk about how to get water out of an iPhone camera in some easy processes
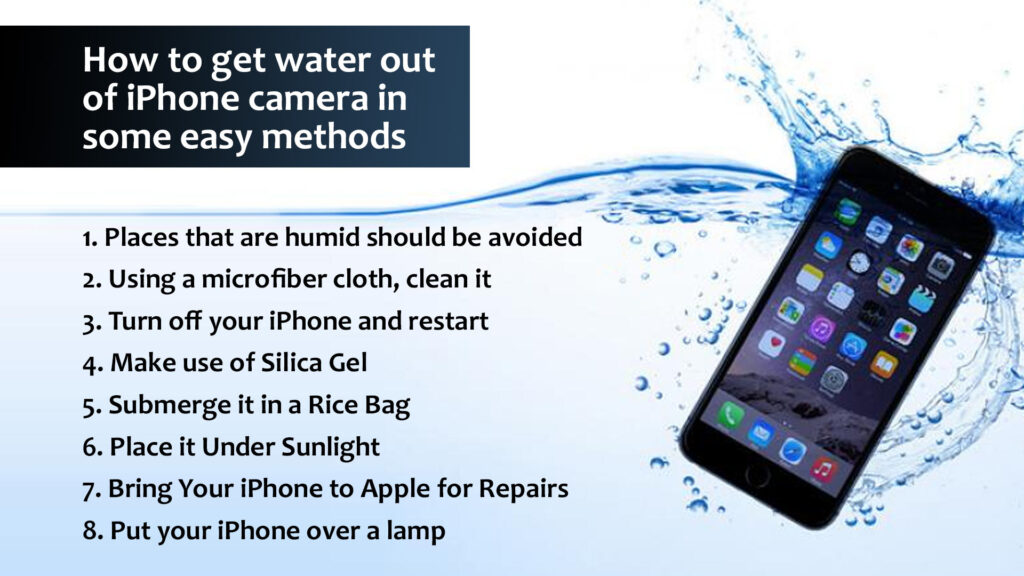
How to get water out of iPhone camera in some easy methods
Even the best-designed goods, however, contain defects. Moisture can seep inside the camera on the iPhone, for example, making it hard to capture useful images.
Here are some helpful hints for removing water from your iPhone camera:
Places that are humid should be avoided
The easiest approach to keep moisture out of your iPhone camera is to keep it out of it in the first place. It may come across as a little snarky, but it makes a lot of sense. Avoid exposing your gadget to rapid variations in humidity and temperature to avoid water build-up.
That’s the simplest approach to keep moisture from accumulating within the device. When using your iPhone, you must be cautious. If there is a sudden change in the humidity or temperature of the surrounding area, don’t bring it out.
Using a microfiber cloth, clean it
A basic exterior cleaning will suffice to remove water from your iPhone camera. That should be enough to clear the camera lens. The moisture is usually trapped on the outside of the gadget rather than inside. That’s good news for you because drying the outside will be easier.
To clean the iPhone’s back and front lenses, use a soft microfiber cloth. Make sure the surface is completely dry and free of moisture and debris. After that, test the camera to see that it already has a clear shot.
If you’re still experiencing fuzzy and hazy images after properly cleaning the outside of the lenses, it’s likely that water is trapped inside.
Turn off your iPhone
Exterior cleaning will not work if water is trapped inside the device. The iPhone should normally be able to keep water out, although this isn’t always the case. When exposed to temperature changes, the moisture that is already within the iPhone can condense.
The first thing to do when you know that there is water inside your iPhone is to turn it off. Moisture can short-circuit components and potentially destroy your iPhone.
Make use of Silica Gel
While uncooked rice is effective in removing moisture from an iPhone camera, there is something that is much more effective. Silica gel can be used. If you’ve ever purchased a product and spotted a small package with grains inside, that’s silica gel. This will prevent moisture from accumulating within the package.
Silica gel is a common material that may be found on Amazon, in art supply stores, and in department stores. You can even order it from the comfort of your own home.
Here’s how to remove moisture from your iPhone with silica gel:
- Place some silica gel near the camera’s lens so that it can absorb moisture.
- You can use the silica gel in the same way you would rice and store it in a sealed container for a few hours.
- If there is a lot of moisture, you should try to dry it out completely by placing it in a warm spot for a few days.
There are other desiccant materials that can draw away moisture if you cannot find silica gel.
Submerge it in a Rice Bag
So, you were able to turn off your iPhone before it caused any severe damage. What are your plans for the future?
To take out the moisture within the iPhone, insert uncooked rice grains inside an airtight bag. Simply insert your iPhone in the bag with the rice and let it be there for a night. The moisture will be drawn away from the iPhone’s inside by the uncooked rice. It definitely works, and your iPhone camera will function normally once more.
Place it Under Sunlight
This appears to be an obvious solution, which is why some people will not try it to remove moisture from an iPhone camera. In some ways, sunlight is the ideal solution. It provides warmth, but not so much that it damages the iPhone.
Find a position where the sunshine isn’t too bright, but just bright enough to eliminate moisture from the iPhone camera. Ideally, you should do this first thing in the morning when the heat isn’t as intense. Make certain that the location you choose will not be exposed to water or physical activities in which the iPhone might be struck and destroyed.
Bring Your iPhone to Apple for Repairs
If nothing works, or if you just want an expert to go over your iPhone, you may take it to an Apple Store or a recognized service facility.
The Apple Genius or repair professionals should be able to assist you in removing moisture or water from your iPhone camera. They may even be able to repair your iPhone if something is broken. However, keep in mind that iPhones include water damage indications, so your repair executive will be aware of the water damage. It’s pointless to try to hide that reality from them.
Put your iPhone on a lamp
In the last month, my iPhone accidentally dropped into the water. After that, my iPhone was near to death. It wasn’t opening up. As per the suggestion of my friend, I put it on top of a lamp for an hour. I used a 100-watt bulb in the lamp. My iPhone became alright. and the water inside my iPhone was completely dried up.
Therefore, putting your iPhone on a lamp for at least one hour will help you to get water out from the device.
How to get water out of iPhone Speaker
Here are some methods to get water out of the iPhone Speaker.
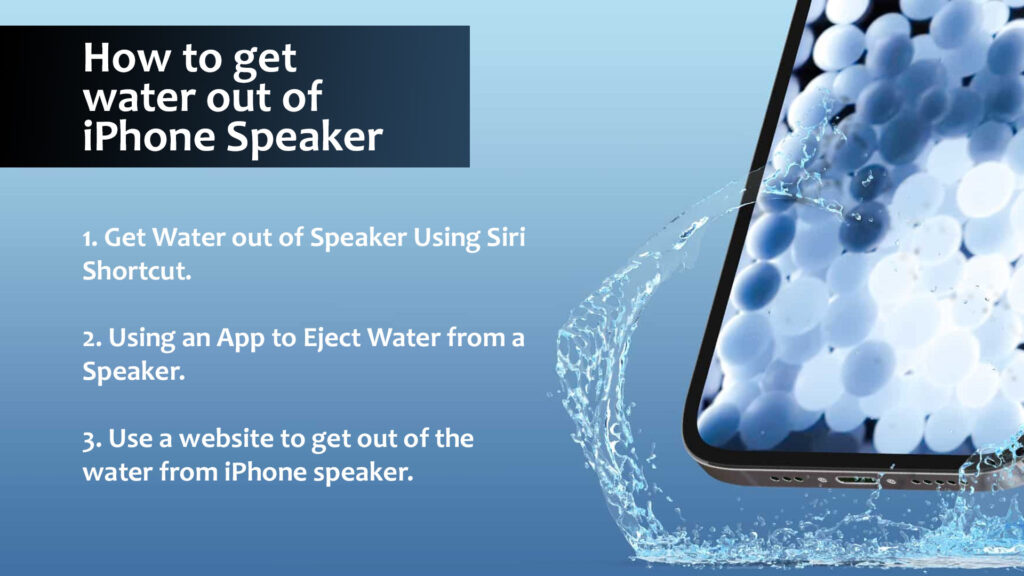
Get Water out of Speaker Using Siri Shortcut
As many of you are aware, the Apple Watch has a simple method for removing water from the speaker grilles. It lets you play noises to get water out of the speaker, and it works well. Surprisingly, the iPhone lacks such built-in techniques. But it doesn’t mean you can’t develop one or utilize Siri shortcuts established by other iPhone users to expel water from the iPhone speaker. Take the following steps:
- First, on your iPhone, permit the installation of untrusted shortcuts. Toggle the “Allow Untrusted Shortcuts” option in Settings -> Shortcuts. To confirm the operation, you must enter your passcode.
- Then, from this page, download the “Water Eject” shortcut and save it on your iPhone. Scroll to the bottom of the “Add Shortcut” page that appears and click the “Add Untrusted Shortcut” button. This is a useful shortcut built by user Josh0678, and if you’re interested, you can find more shortcuts like it by following this link.
- Launch the Shortcut app and navigate to the “My Shortcuts” menu. Tap on the “Water Eject” shortcut here. Choose “Begin” from the option that appears, and the shortcut will begin working. While the shortcut is running, you should hear a succession of sounds and see water gushing out of your speaker.
Using an App to Eject Water from a Speaker
If Siri Shortcuts aren’t your thing, or you don’t trust a Shortcut developed by an anonymous person on the internet, you can experiment with other applications that provide comparable functionality. Sonic is the most commonly recommended app for removing water from an iPhone speaker.
- Get Sonic from the App Store for free.
- Once the software has been installed, launch it. Sonic employs sound waves to assist you in removing water from your iPhone speaker. It allows you to select the frequency of the sound that will be played via your speaker, so you may experiment with high- and low-pitched noises to achieve the greatest results.
- Once you’ve decided on a frequency, press the “Play” button. When the water has been discharged, press the “Stop” button to silence the sound.
This program should help you eliminate water from your iPhone speakers, and it’s completely free to use.
Use a website to get out of the water from iPhone speaker
If neither an app nor a Shortcut appeals to you, there are websites that allow you to play sounds to remove water from iPhone speakers. The following is how it works:
- Navigate to this webpage using your iPhone.
- Tap on the frequency value (it will default to 440Hz) and input 165Hz.
- Press the “Play” button to begin listening to the sound. This should let you easily evacuate any water that has become lodged in your iPhone speaker.
Conclusions
It is more difficult to remove moisture from an iPhone than from other types of iPhones, primarily because iPhones are not designed to be opened in order to access the battery or the iPhone’s interior. But there are proven tricks you may apply to take out the moisture away from your iPhone.
How Do You Get Water Out of Your iPhone Camera Without Using Rice?
To get water out of an iPhone, take it out of the water and immediately turn it off. Disassemble the iPhone and clean the internal components if the battery is detachable. If not, remove the iPhone, shake off the water, and clean the body. Place the iPhone in silica gel, quick oatmeal, or a synthetic desiccant.
After some time, place the iPhone near a table fan to help it to dry faster. Make an effort to leave the iPhone off for at least two days before turning it on.
What Are the Symptoms of Water Damage on an iPhone?
To see if an iPhone has been water-damaged, remove the iPhone’s shell and look at the water damage indicator. The water damage indicator is a white dot that is normally found under the battery panel (on the iPhone) and, in some circumstances, on the battery.
If the light remains white, the iPhone is not harmed by water. The iPhone is most certainly water-damaged if the indicator is discolored or appears red. If the iPhone’s battery is not removable, use Google to find the location of the water damage warning.
What Is the Best Way to Defog a Camera Lens?
To defog a camera lens, take it to a car or residence and turn on the heating. Place the camera lens close to the heater and rotate it constantly. If the heat source is a blow-dryer, place it over the top of the lens and move it around the lens of the camera. Keeping the heat directed to a specific area might cause lens damage.
Additionally, keeping the camera warm might help to prevent a fogged lens. If the temperatures inside and outside fluctuate, it is best to keep the equipment covered until it is needed.