You may wish to capture a screenshot on your iPhone 8/8 Plus, iPhone X, or iPhone XS/XS Max/XR to share the screenshot with others or to retain the critical information in the screenshot on your device. That’s why we’ve produced this post, which covers two methods for taking a screenshot on your iPhone (from the iPhone 8/8 Plus to the recently launched iPhone XS/XS Max/XR). Aside from taking a screenshot on your iPhone, there are additional options for viewing, editing, and sharing the screenshot on your device. Read on to learn more.
You may also require remedies for the widespread issue of your iPhone/”touch iPad’s screen not working.” If you’re having difficulties with the issue, follow the comprehensive steps to resolve it.
- Part 1: How to Take a Screenshot on an iPhone 8 or iPhone 8 Plus
- Part 2: Using the iPhone X to Take a Screenshot
- Part 3: How to Take a Screenshot on the iPhone XS, XS Max, and XR – NEW
Part 1: How to take screenshot on iPhone 8 or iPhone 8 Plus
In general, you can take a screenshot on your iPhone using either the buttons or Assistive Touch.
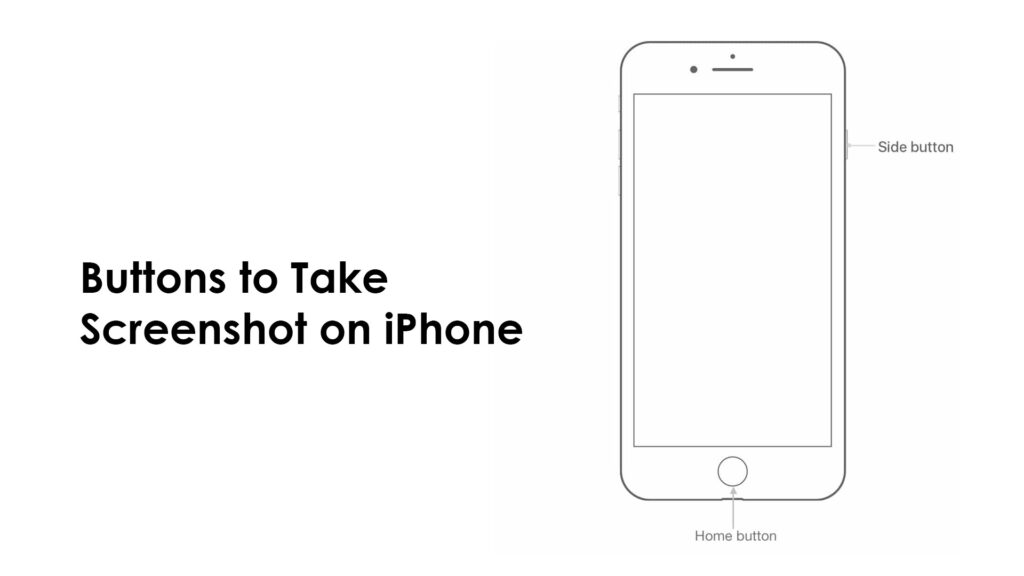
Tip 1: Using the iPhone buttons, take a screenshot of the iPhone 8/8 Plus.
Step 1: On your iPhone, go to the screen you wish to capture.
Step 2: To take a screenshot, quickly press and release the Sleep/Wake button (also known as the Side button) and the Home button on your iPhone 8/8 Plus.
Step 3: On the lower left of the screen, you’ll see a preview of the screenshot. To modify the screenshot, touch on the preview, then crop/markup the image or add texts/signature/magnifier. Then tap Done > Save to Photos to save the screenshot to your iPhone, or tap the Share Button to send it through Message, Mail, or other methods. Swipe left over the preview to save the snapshot, and it will be stored on your iPhone automatically. On your iPhone, navigate to Photos > Albums > Screenshots to check it out later.
Tip 2: Use AssistiveTouch to take a screenshot on your iPhone 8/8 Plus.
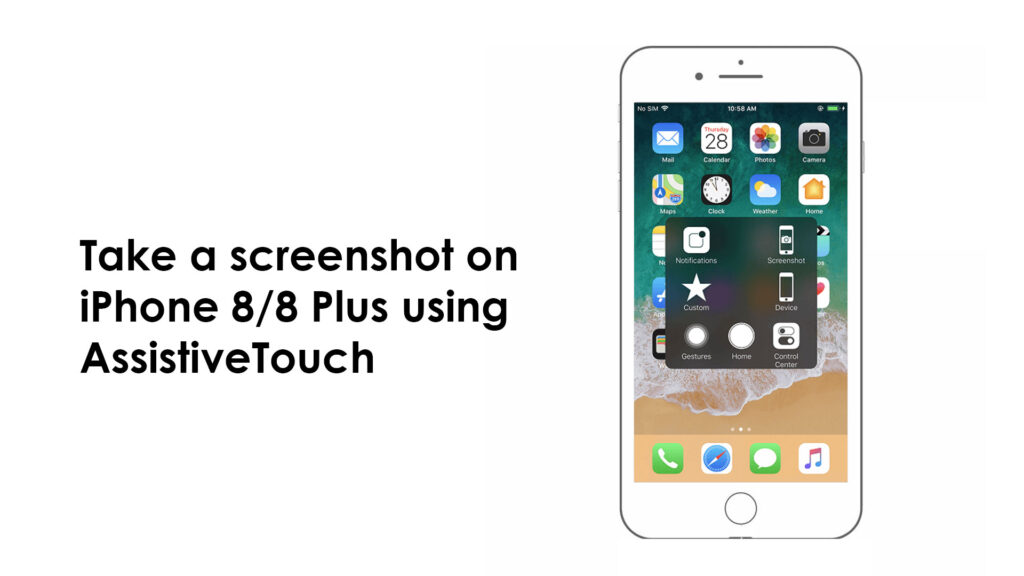
Actually, if you discover that using buttons may accidentally activate Siri or lock your iPhone if you don’t hit the buttons simultaneously, using AssistiveTouch to screenshot your iPhone is easier. The steps outlined below will teach you how to accomplish this.
Step 1: On your iPhone, go to Settings > General > Accessibility. (You can also invert color on iPhone 8/8 Plus under Accessibility to make your iPhone screen more eye-friendly.)
Step 2: Scroll down and select AssistiveTouch from the drop-down menu.
Step 3: Then, under Customize Top Level Menu…, touch the Plus symbol to add a new icon.
Step 4: Select Screenshot from the newly added icon and click Done. The AssistiveTouch Menu will then include a Screenshot option.
Step 5: On your iPhone 8/8 Plus, go to the screen you wish to screenshot, press the AssistiveTouch button on the screen, and select Screenshot to screenshot your iPhone.
Part 2: Screenshots on the iPhone X
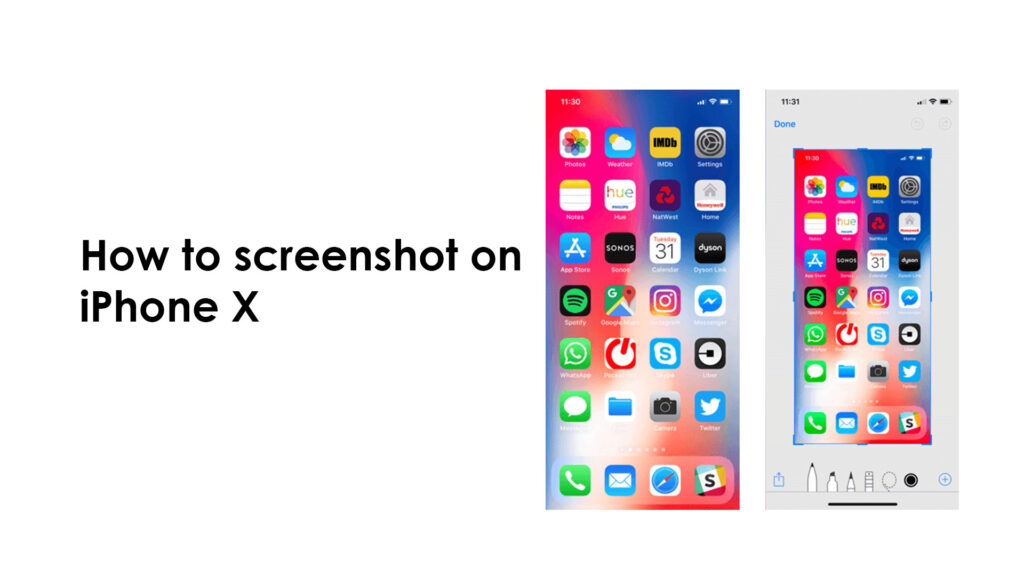
Because there is no Home button on the iPhone X, taking a screenshot is a little different.
Step 1: On your smartphone, navigate to the screen you wish to capture.
Step 2: To take a screenshot on your iPhone X, press and hold both the Side and Volume Up buttons at the same time.
Step 3: After taking the screenshot, you may modify it further by clicking the thumbnail in the bottom-left corner of your iPhone X, or you can let it save to your device automatically. In iOS 11, navigate to Photos > Albums > Camera Roll/Screenshots to obtain access to the screenshots. If you want to see the Screenshots album in iOS 12, go to Photos, then Albums, then Media Types, then Screenshots.
Note: Assistive Touch, which was introduced in Tip 2 of Part 1, may also be used to screenshot your iPhone X.
Part 3: How to Take a Screenshot on an iPhone XS, XS Max, or XR
You may also capture a screenshot with the buttons or Assistive Touch on your iPhone XS/XS Max or iPhone XR.
Tip 1: Screenshot with buttons on iPhone XS/XS Max/XR
Step 1: Go to the screen you wish to capture in step one.
Step 2: To screenshot your iPhone XS/XS Max/XR, press and hold the Side button on the right side of the device, then rapidly hit the Volume Up button.
Step 3: The thumbnail of the screenshot will then show on your iPhone. You may modify the photo by tapping it, or you can press and hold it to share the screenshot through AirDrop, Messages, Mail, and other services.
Tip 2: Use Assistive Touch on your iPhone XS/XS Max/XR to take a screenshot.
You can screenshot on your iPhone XS/XS Max/XR without hitting the buttons if you enable Assistive Touch and add Screenshot control to the menu.
Step 1: On your iPhone XS/XS Max or iPhone XR, go to Settings > General > Accessibility.
Step 2: Scroll down and select AssistiveTouch from the drop-down menu.
Step 3: To add a new icon, go to Customize Top Level Menu… and press the Plus symbol.
Step 4: Select Screenshot from the newly added icon and click Done.
Step 5: To screenshot your iPhone XS/XS Max/XR, go to the screen you wish to screenshot, press the AssistiveTouch button on your screen, and select Screenshot.
How to Preview Screenshot on iPhone 8 and iPhone 8 Plus
You’ll see a preview of your screenshot in the bottom-left corner when you capture it. To share or change it, simply tap on it. If you don’t want to deal with it right now, simply swipe it off the screen and it will vanish.
How to Crop an iPhone 8 or iPhone 8 Plus Screenshot
Cropping the screenshot is a breeze using the Instant Markup screen. There’s no need to enter a special mode, and there’s no three-level symbol to locate (like the Photos app).
The portrait is encircled by a blue border, and the edges are adorned with strong handles. Move those handles in by tapping and holding them. That’s all; your image has been cropped.
How to Highlight Text in a Screenshot on an iPhone 8 or iPhone 8 Plus
On your iPhone 8 and iPhone 8 Plus, you can use Markup to circle a map point, enlarge part of a Web page, highlight a line in an email, and more after taking a screenshot.
Making changes to the screenshot
You may crop the shot by dragging the blue boundaries that surround the image when you tap on the tiny image. You may also use various annotating and drawing tools to highlight certain areas of the image.
A + icon in the bottom right corner provides you access to text fields, a means to enter your signature, and the magnifier, which, as the name suggests, enlarges sections of the image.
When you’re satisfied with the screenshot, hit the Done button in the top left corner to save it to your Photos app (it will so in the Screenshots album).