Deleting photos from iPhone and iPad is really simple and easy. Let check out several methods for deleting photos from your iPhone or iPad
How to delete photos from iPhone using the cleaner app for iPhone.
Using the cleaner app for iPhone, you can effortlessly delete similar and duplicate photos and screenshots just with a few taps. Moreover, you can increase your iPhone space storage.
How to delete photos from your iPhone or iPad After Importing
You understand how to delete photos from your iPhone after importing, of course. We’re all guilty. It’s so simple that even my mother can do it without asking for help.
However, removing images straight from your iPhone might be a time-consuming procedure if your final objective is to batch delete hundreds, if not thousands, of photos. We’ll teach you how to erase images from the iPhone photo library on iOS in this post. We’ll look at the many methods for not only removing images one at a time, but also deleting all photos from an iPhone at once.
All of this information also applies to the iPad. The procedure is the same whether you want to erase images from an iPad or an iPhone. If you wish to erase images from your iPad, simply follow the instructions below.
How to delete iPhone photos manually
Most likely, you already know how to remove individual images from your iPhone or iPad, but for the purpose of completeness, we will describe how to do it here.
- Go to the Photos app and open it.
- Select a photo to remove by tapping on it.
- In the lower right corner of the screen, tap the Trash symbol.
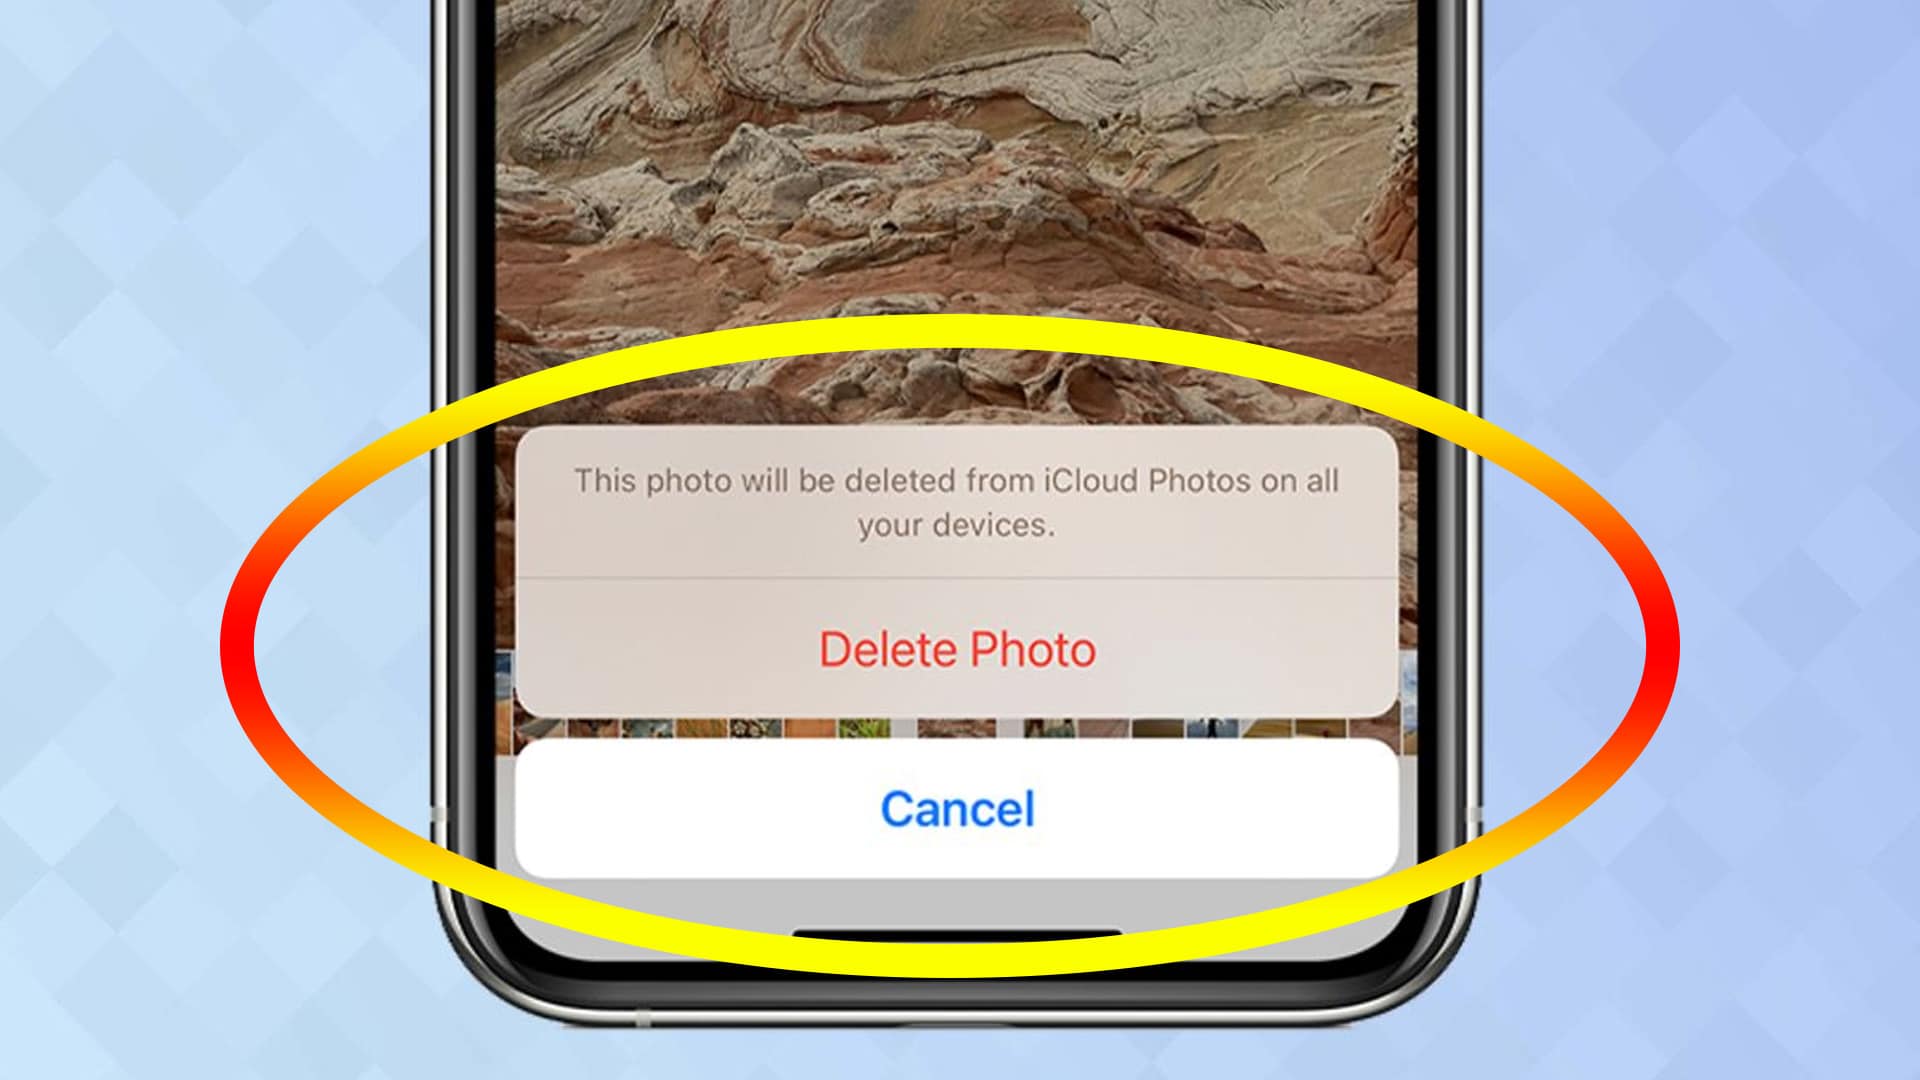
- Your iPhone or iPad will prompt you to confirm whether you actually want to delete the photo or cancel it. Select “Delete Image.” The photo will be permanently removed from your iPhone.
How to Delete Multiple Photos on an iPhone or iPad
There are two methods for swiftly deleting many images from your iPhone. The first method requires you to manually choose each and every image you want to remove. The alternative method will be discussed in the next section.
- Go to the Photos app and open it.
- Navigate to the Camera Roll.
- In the top right corner of the screen, press the Select button.
- Tap the checkbox next to each photo you wish to remove. You may also move your finger over the screen to swiftly choose a row of four photographs, for example, to make the process speedier. Even better, you may begin swiping down to choose numerous rows of photographs at once. That’s some serious strength!
- When you’ve finished selecting all of the images you wish to delete from your iPhone, hit the Trash icon in the lower right corner of the screen.
- You will be prompted to approve the deletion of the photos one more time before they are permanently erased.
How to bulk delete images from your iPhone
Connect your iPhone to your Mac with the provided syncing cable, then start Image Capture. This is a very useful (but rarely used) program for capturing photos from linked devices (including scanners, cameras, and iOS devices).
In the Devices column of Image Capture, choose your iPhone. Choose a destination for your imported photographs from the Import To pop-up option below. You may import images to the Pictures, Movies, Desktop, and Documents folders, as well as iPhoto, Aperture, Preview, and Mail. Select Other, and then navigate to whatever folder you like. To import your photographs, go to the bottom right of the window and click the Import All option. This will bring in all of the photographs from your iPhone’s Camera Roll.
After that, hit Command-A to pick all of the iPhone’s photos, and then click the Delete option (which displays the international circle-with-a-slash icon). You will be prompted to confirm your want to remove your photographs. If you confirm-ho, the photographs will be removed.
Alternatively, after backing up your photographs, you may delete them in batches on your iPhone. To do so, open the Photos app and scroll down to the Photos menu on the left until you reach the Moments view. Then, in the top-right of the screen, press Select, and then tap each Select link next to each batch of photographs you wish to remove. Tap the Trash icon in the bottom-right corner, confirm that you want to delete the photographs, and they’ll be gone.
“But wait a minute!” You could be exclaiming, “I just loaded the Photos app on my phone, and there are still images there.” “What’s the deal with that?!?”
That’s your Photo Stream, I see.
“And those images, aren’t they still eating up space on my iPhone?”
Well. Yes.
“So we still haven’t gotten rid of all the images on my iPhone, have we?”
No, we haven’t.
“Sooo…”
So you must disable Photo Stream on your iPhone. To do so, navigate to Settings > Photos & Camera. In the subsequent screen, toggle the My Photo Stream switch to the Off position. This will cause the photographs on your phone to vanish.
The advantage of this method over removing the photographs in your Photo Stream is that copies of these images remain on iCloud and the devices for which Photo Stream has been activated. Please keep in mind that if you turn Photo Stream back on, any photographs in Photo Stream will be downloaded to your phone.
How to Select and Delete Multiple Photos Quickly on your iPhone or iPad
The alternative method for swiftly selecting and deleting several images from your iPhone at once is a little less well-known, but it is still quite effective because it allows you to choose many photos with a single tap.
- Go to the Photos app on your iPhone or iPad and open it.
- Tap at the bottom of your screen where it is showing “Photos tab”.
- Although it may not be immediately apparent, the Images page arranges your photos by Years > Collections > Moments. To go through this hierarchy, and depending on where you are in the hierarchy, you must enter Moments. If you’re presently in the Years view, simply tap on the mosaic of photographs from a certain year, then scroll and press on a specific collection, and you’ll be moved to the Moments view. If you’re in Collections mode, press on the picture mosaic to go to Moments view. I understand that reading this might be perplexing, but it will make sense if you hold your iPhone in your hands.
- Tap the Select button in the top right corner once you’re in the Moments display.
- You’ll see that each Moment now has a tiny Select button next to it. Tapping on the Select button of a particular Moment picks all of the photographs in that Moment. Deselecting a Moment is as simple as hitting the Deselect button.
- After you’ve chosen as many Moments as you wish, touch the Trash symbol in the bottom right corner of the screen. All of the photographs you choose will be removed from your photo collection.
How to delete photo albums from iPhone
Deleting a picture album on your iPad or iPhone does not destroy the photographs linked with that album from your Camera Roll, but I thought it would be a good idea to include this little advice as well.
- Launch the Photos app. Tap the Albums icon at the bottom of the screen to bring up a list of all the albums on your iPhone.
- In the top right corner of the screen, tap the Edit button. Albums that can be deleted will be marked with a little red Delete symbol.
- Tap the red Delete symbol next to the album you wish to remove.
- A warning message will appear asking you to confirm that you really want to remove this album. Select Delete Album.
It should be underlined once more that just the album will be erased. All of the photographs in this album will stay on your Camera Roll until you remove them.
How to clear the Recently Deleted album in iOS
Apple provided a new precaution in the form of a Recently Deleted album with the release of iOS 8. When you remove a photo from your iPhone, it is briefly stored in the Recently Deleted album and remains there for 30 days. After 30 days, the photo will be permanently removed from your device.
It’s crucial to know that if you wish to free up space on your smartphone by deleting photos, you must first delete them from the Recently Deleted album. Otherwise, you’ll have to wait 30 days for the photographs to be completely removed off your device.
- Open the Photos app and scroll down to the Albums tab.
- Locate and choose the Recently Deleted album. There, you’ll see all of the photographs that were recently destroyed, and you’ll see that each of them has a time stamp on it, which indicates how much time is remaining until it’s automatically removed.
- Tap Select in the top right corner. This gives you the choice of selecting individual photographs one by one or deleting them all at once. If you only want to delete a few photographs, press on each one to select it, then tap the Delete button in the lower left corner. If you want to get rid of them all at once, simply click the Delete All option in the bottom left corner. All images will be permanently deleted.
How to delete photos from iPhone after importing them in Photos app
Photos is essentially an iPhoto substitute. Again, if your Mac is capable of running that software, it is highly worth moving to it because it is far more stable and lightweight. Delete photographs after importing them in Photos is quite similar to deleting photos after importing them in iPhoto.
- Open Photos on your Mac and connect your iPhone via USB cord.
- In the sidebar, if it isn’t already chosen, choose the Import tab.
- Check the Delete Items box, then click Import New. All imported images will be instantly removed from your iPhone or iPad.
How to delete photos from iPhone after importing them in iPhoto
The majority of Mac users manage their photos with iPhoto. iPhoto is one of my least favorite pieces of software, and I’m pleased Apple got rid with it. I find it sluggish and perplexing, but it does help me get things done sometimes. If you use iPhoto to import your images into your Mac, there is a nice little option that allows you to erase the photos from your iPhone after they have been imported.
It should be noted that, at this time, and provided your Mac can run some of the most recent software upgrades, it would be preferable to switch to the new Photos app.
- Open iPhoto on your Mac and connect your iPhone.
- Your iPhone or iPad should be chosen by default, but if it isn’t, pick it from the Devices list in the left navigation bar.
- In the top right corner of the iPhoto program, select Import Photos. All of your images will be imported into iPhoto as a result of this. Obviously, this might take some time, especially if you have 900 photographs to import, as I did.
- After the import is complete, iPhoto will prompt you to remove the imported photographs from your iPhone.
- Select Delete Items. All of the images on your iPhone will thereafter be deleted.
How to Delete All Photos on an iPhone Using Image Capture
We’ve arrived. The approach described here is without a doubt the quickest and most effective way to erase photographs from your Camera Roll in bulk. You may erase one or hundreds of photographs all at once, and you’ll be done in less time than it takes to say it.
Note to Windows users: I don’t have a Windows system to try this on, but if my memory serves me correctly, you can accomplish the same thing by going to “My Computer” and looking for your iPhone, which should display as cameras do on PC. But don’t take my word for it. Hopefully, some people with Windows PCs will be able to provide further information.
- Connect your iPhone to your Mac. Start the Image Capture program. You may not have heard of it, yet it comes standard with all Macs. It should be in your Applications folder someplace.
- Select your iPhone or iPad from the Devices list in the sidebar.
- Choose how many photographs you wish to erase. To remove all of them at once, use the Command + A buttons on your keyboard to select all photographs.
- As seen in the picture above, click on the black delete symbol at the bottom of the screen.
- You will have one more chance to prevent the mass loss of your photos. Image Capture will ask you if you are certain you want to permanently remove the things you have selected. Select Delete. Your iPhone or iPad will be erased of all photographs.